Nikon D200 Manual: A Comprehensive Guide
This comprehensive guide provides detailed instructions for the Nikon D200‚ covering setup‚ controls‚ shooting techniques‚ and troubleshooting for optimal performance.
Access the full manual in PDF format‚ explore Nikon’s support website‚ and connect with online communities for enhanced learning and assistance.
Customize your camera with user-defined functions‚ information display settings‚ and button configurations to tailor the D200 to your specific needs.
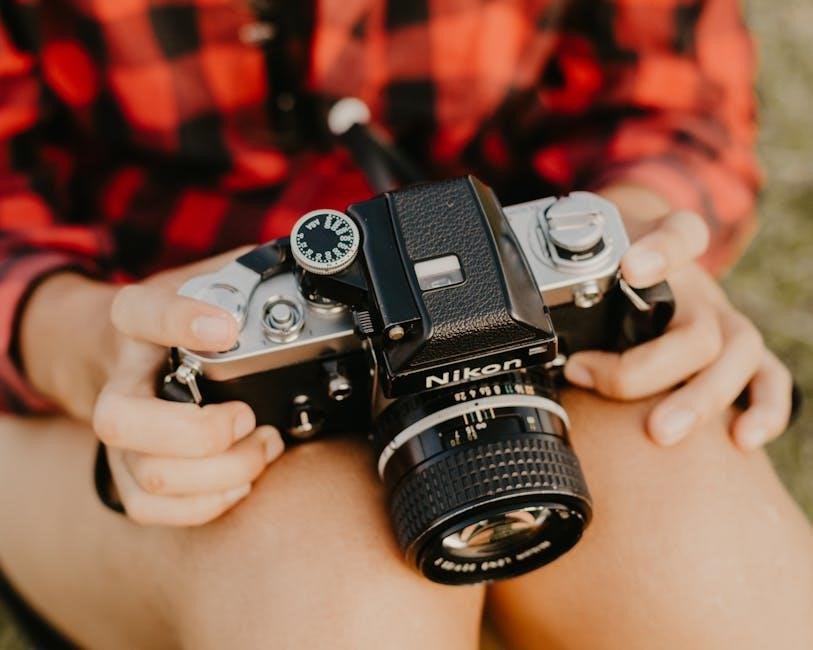
The Nikon D200‚ a powerful and well-designed digital SLR‚ bridges a gap in Nikon’s camera lineup‚ catering to both professionals and serious amateur photographers. Released to fill a specific need‚ this camera offers a robust feature set within a durable body.
This manual serves as your complete resource for understanding and utilizing the D200’s capabilities. Whether you’re a seasoned photographer or new to digital SLR photography‚ this guide will walk you through every aspect of the camera‚ from initial setup to advanced techniques.
Explore detailed explanations of the camera’s controls‚ shooting modes‚ and customization options. Learn how to achieve optimal image quality and troubleshoot common issues. This resource ensures you unlock the full potential of your Nikon D200.
Key Features and Specifications
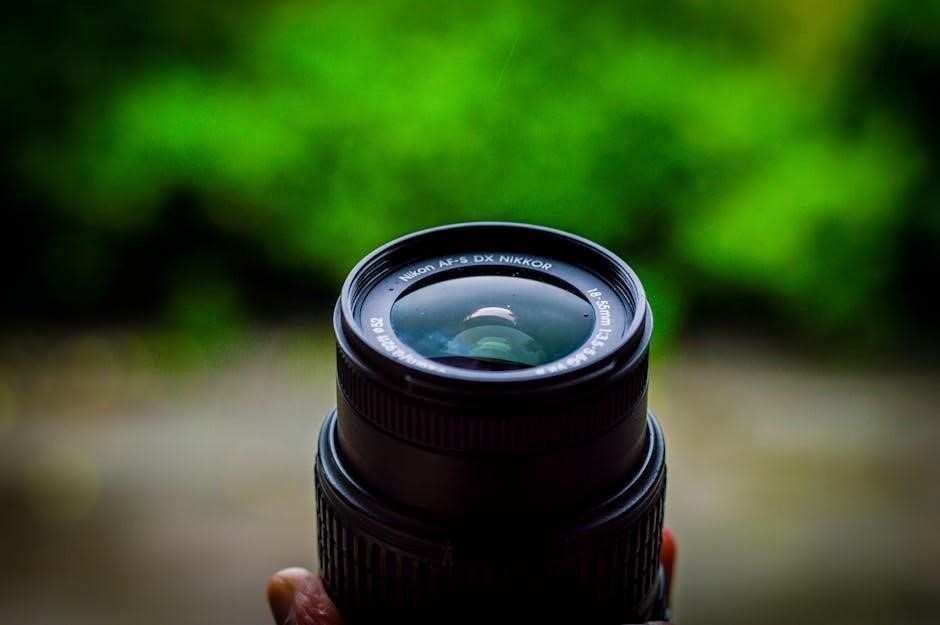
The Nikon D200 boasts a 10.2-megapixel DX-format CCD image sensor‚ delivering exceptional detail and clarity. It features an electronic front-curtain shutter for reduced vibration and sharper images. Its continuous shooting capability reaches 5 frames per second‚ ideal for capturing action.
Key specifications include a 2.5-inch LCD screen‚ a wide range of ISO settings (100-3200)‚ and 11-point autofocus system for precise subject tracking. The camera supports both CompactFlash (Type I/II) and Microdrive media.
Further features encompass multiple Picture Control settings‚ customizable functions‚ and comprehensive connectivity options‚ including USB and video output. This camera is a versatile tool for diverse photographic applications.
Getting Started with Your Nikon D200
Begin your photographic journey with unboxing‚ initial setup‚ and proper battery charging. Learn to insert memory cards correctly for seamless image storage and camera operation.
Unboxing and Initial Setup
Carefully unpack your Nikon D200‚ verifying all included components are present: the camera body‚ battery‚ charger‚ strap‚ and various cables. Before first use‚ thoroughly inspect the camera for any physical damage sustained during shipping.
Initial setup involves selecting your preferred language‚ date‚ and time settings. Ensure the battery is adequately charged before proceeding. Attach the strap securely to the camera body for safe handling. Familiarize yourself with the location of key controls‚ like the mode dial and shutter button.
Finally‚ insert a compatible memory card to enable image storage. The camera will prompt you to format the card – this is recommended for optimal performance. Now you’re ready to begin exploring the capabilities of your Nikon D200!
Battery Charging and Management
The Nikon D200 utilizes a rechargeable lithium-ion battery. To charge‚ connect the battery to the supplied charger and plug it into a standard wall outlet. The charger’s indicator light will display the charging status – typically red while charging and green when complete.
Avoid interrupting the charging process. Fully charge the battery before initial use for optimal performance. Battery life varies depending on usage‚ but conserving power is crucial. Disable features like live view when not needed‚ and utilize the power-saving settings within the camera’s menu.
Store spare batteries in a cool‚ dry place. Avoid extreme temperatures. Regularly check battery health and replace if performance diminishes significantly.
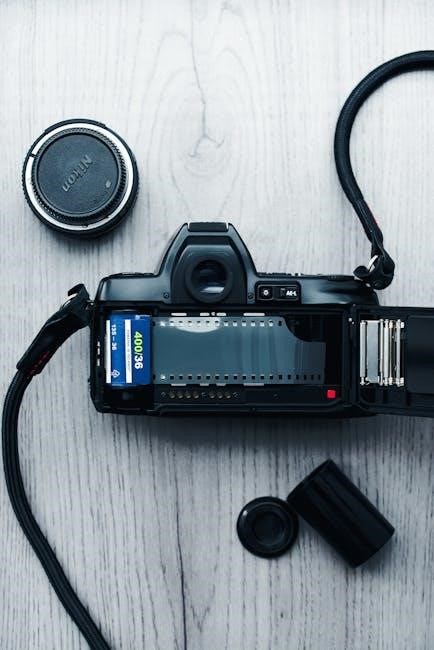
Inserting Memory Cards
The Nikon D200 is compatible with CompactFlash (CF) memory cards. Locate the memory card slot on the camera’s side. Gently open the card door. Insert the CF card‚ ensuring the label faces the same direction as the camera’s label‚ until it clicks into place.
Do not force the card. To remove‚ lightly press the card inward; it will spring partially out‚ allowing for easy removal. Always handle memory cards with care‚ avoiding static electricity and physical damage.
Formatting cards within the camera is recommended for optimal performance. Be aware that formatting erases all data‚ so back up important files beforehand.

Understanding the Camera Controls
Mastering the D200’s controls unlocks its full potential. Explore the mode dial‚ menu system‚ and custom function settings for personalized operation and creative control.
The Mode Dial: Shooting Modes Explained
The Nikon D200’s mode dial offers a versatile range of shooting options. Auto mode simplifies operation for beginners‚ while Program (P) provides automated settings with user control.
Aperture Priority (A or Av) lets you set the aperture for depth of field‚ and Shutter Priority (S or Tv) controls motion blur. Manual (M) grants full creative control over both aperture and shutter speed.
Scene modes‚ like Portrait‚ Landscape‚ and Sports‚ optimize settings for specific situations. Custom Settings (U1‚ U2‚ U3) allow you to save and recall your preferred configurations. Understanding each mode empowers you to capture stunning images tailored to your vision and the shooting environment.
Navigating the Menu System
The Nikon D200’s menu system is accessed via the ‘Menu’ button. It’s logically organized into several tabs: Shooting Menu‚ Recording Menu‚ Setup Menu‚ and Custom Settings.
Use the multi-selector and dials to scroll through options and adjust settings. The ‘?’ button provides helpful on-screen explanations for each function.
Custom Function (CF) settings‚ found in the Setup Menu‚ allow personalized camera behavior. Familiarize yourself with the menu structure to efficiently adjust image quality‚ autofocus‚ metering‚ and other crucial parameters. Mastering menu navigation unlocks the D200’s full potential.
Custom Function Settings (CF Settings)
Custom Function (CF) settings on the Nikon D200 allow extensive personalization. Accessed through the Setup Menu‚ these settings modify camera behavior to suit individual shooting styles.
CF settings control everything from autofocus area mode to exposure delay mode and button assignments. For example‚ CF03 adjusts the AE/AF lock behavior.
Experimenting with CF settings is crucial for optimizing workflow. Refer to the manual for detailed explanations of each function. Saving custom settings profiles ensures quick recall of preferred configurations‚ enhancing efficiency and creative control;
Shooting with the Nikon D200
Mastering the D200’s shooting capabilities involves understanding autofocus modes‚ exposure settings‚ and metering options for capturing stunning images in diverse conditions.
Explore aperture priority‚ shutter priority‚ and manual modes to gain full creative control over your photographs.
Autofocus Modes and Settings
The Nikon D200 offers a versatile autofocus (AF) system with various modes to suit different shooting scenarios. Single-servo AF (AF-S) is ideal for stationary subjects‚ focusing once when the shutter button is pressed halfway.
Continuous-servo AF (AF-C) tracks moving subjects‚ continuously adjusting focus as they move – perfect for sports or wildlife. Auto-servo AF (AF-A) automatically switches between AF-S and AF-C‚ attempting to determine the best mode.
AF-area mode selection allows you to choose how the camera selects focus points. Options include Single-area AF‚ Dynamic-area AF (with 5‚ 9‚ or 11 focus points)‚ and Auto-area AF. Experiment with these settings to achieve sharp focus consistently.
Fine-tuning AF is possible through the Custom Function menu‚ allowing adjustments for lens-specific characteristics.
Exposure Modes: Aperture Priority‚ Shutter Priority‚ Manual
The Nikon D200 provides comprehensive control over exposure through its various modes. Aperture Priority (A) allows you to set the aperture (f-stop)‚ controlling depth of field‚ while the camera automatically selects the shutter speed. This is excellent for portraits or landscapes.
Shutter Priority (S) lets you choose the shutter speed‚ freezing or blurring motion‚ with the camera adjusting the aperture. Ideal for sports or capturing light trails. Manual (M) mode grants full control over both aperture and shutter speed‚ offering maximum creative flexibility.
Exposure compensation is available in A and S modes to fine-tune brightness. Utilize the histogram to evaluate exposure accurately and achieve desired results.
Metering Modes: Evaluative‚ Center-Weighted‚ Spot
The Nikon D200 offers three distinct metering modes to accurately measure light and determine exposure. Evaluative metering analyzes the entire scene‚ ideal for general photography. It’s a balanced approach‚ suitable for most situations. Center-weighted metering prioritizes the center of the frame‚ useful when your subject is centrally located.
Spot metering measures light from a very small area‚ allowing precise exposure control for challenging lighting conditions or specific subjects. This is beneficial for backlit scenes or when precise exposure is critical.
Experiment with each mode to understand their effects and choose the best option for your photographic goals.
Advanced Photography Techniques
Master white balance‚ picture control settings‚ and flash utilization to elevate your Nikon D200 photography. Explore creative options and achieve professional results.
White Balance Adjustment
Achieving accurate colors is crucial in photography‚ and the Nikon D200 offers robust white balance controls. Automatic white balance generally performs well‚ but for critical work‚ manual adjustments are recommended. Explore presets like Daylight‚ Cloudy‚ Fluorescent‚ and Incandescent.
Fine-tune white balance using the custom setting; photograph a white or gray card under the current lighting conditions and set this as your reference. The Kelvin temperature scale allows precise control‚ adjusting for warmer or cooler tones. Experiment with these settings to correct color casts and ensure natural-looking images.
Picture Control settings interact with white balance‚ influencing the overall look of your photos. Consider using the Standard‚ Vivid‚ or Neutral profiles alongside appropriate white balance adjustments for desired results.
Picture Control Settings

Nikon’s Picture Control system allows you to customize the look of your images directly within the camera. Standard delivers well-balanced colors‚ ideal for general photography. Vivid enhances saturation and contrast for bolder‚ more striking results. Neutral provides a flatter profile‚ excellent for post-processing flexibility.
Monochrome creates black and white images with adjustable filter effects and contrast. Portrait optimizes skin tones for flattering portraits‚ while Landscape boosts blues and greens for vibrant outdoor scenes.
Fine-tune each Picture Control by adjusting sharpness‚ contrast‚ brightness‚ saturation‚ and hue. Save your custom settings for consistent results and quick access. Experiment to discover the perfect look for your photographic style.
Using Flash Effectively
The Nikon D200’s built-in flash offers various modes for different situations. Auto mode lets the camera determine flash output‚ while Manual provides full control. Fill-flash adds light to shadowed areas in bright conditions. Red-eye reduction minimizes the red-eye effect in portraits.
Utilize the flash compensation function to fine-tune flash intensity. Explore external flash units for greater power and creative control. Consider bounce flash by directing the flash off a ceiling or wall for softer‚ more natural lighting.
Sync mode options include front-curtain‚ rear-curtain‚ and high-speed sync for diverse effects. Experiment with these settings to master flash photography.

Customizing Your Nikon D200
Tailor the D200 to your preferences with user-defined functions‚ personalized information displays‚ and customizable buttons and dials for efficient operation.
User-Defined Functions
Nikon’s D200 offers extensive customization through its User-Defined Functions (often labeled as ‘Custom Function’ or ‘CF’ settings). These allow photographers to assign specific operations to buttons‚ streamlining workflow and enhancing control.
Access these settings via the camera’s menu system‚ navigating to the Custom Function section. Here‚ you can modify a wide range of camera behaviors‚ from autofocus settings and metering modes to display options and button assignments.
For example‚ you can assign a frequently used function‚ like adjusting ISO‚ to a dedicated button for quick access. Experimenting with these settings allows you to personalize the D200‚ making it perfectly suited to your shooting style and preferences. Remember to document your changes!
Setting Up the Information Display
The Nikon D200’s information displays – both on the LCD screen and in the viewfinder – are highly customizable. Adjusting these displays ensures you have the most relevant shooting information readily available. Access the display settings through the camera’s menu system.
You can choose what data is shown‚ including exposure settings‚ autofocus points‚ battery level‚ and shooting information. Customize the LCD display’s brightness and color tone for optimal visibility in various lighting conditions.
Viewfinder settings allow you to select grid lines‚ focus point display‚ and other helpful overlays. Tailoring the information display enhances your shooting experience and helps you capture the perfect image.
Customizing Buttons and Dials
The Nikon D200 offers extensive customization options for its buttons and dials‚ allowing you to tailor the camera’s operation to your shooting style. Through the Custom Function (CF) settings‚ you can reassign functions to various buttons and dials.
This feature is incredibly useful for quick access to frequently used settings. For example‚ you can assign autofocus activation to a different button or adjust the function of the sub-command dial. Experiment with different configurations to find what works best for you.
Remember to document your custom settings for easy recall if you reset the camera. This level of personalization significantly improves workflow and efficiency.
Troubleshooting Common Issues
Resolve problems with error messages‚ image quality‚ or connectivity (USB‚ video) using this section. Find solutions and guidance for a smooth shooting experience.
Refer to the manual for detailed explanations and troubleshooting steps to address common issues quickly and effectively.
Error Messages and Solutions
Encountering an error message on your Nikon D200 can be frustrating‚ but often easily resolved. The camera’s display provides codes indicating the issue. Common errors include “Battery Low‚” requiring a charge or replacement‚ and “Card Full‚” prompting you to swap memory cards.
“Function Not Available” may appear if settings are incompatible; check your current mode and configurations. Lens errors (“Lens Not Attached” or communication issues) suggest a connection problem – reattach the lens securely. Refer to the manual’s dedicated error code section for a comprehensive list and specific troubleshooting steps. Resetting the camera to factory defaults can sometimes clear persistent errors‚ but will erase custom settings.
Always consult the manual for the most accurate and detailed solutions related to each specific error message displayed on your Nikon D200.
Dealing with Image Quality Problems
Suboptimal image quality on your Nikon D200 can stem from various factors. Soft or blurry images often indicate incorrect focus – verify autofocus settings or use manual focus carefully. Noise‚ particularly in low light‚ can be reduced by lowering ISO settings or utilizing noise reduction features in post-processing.
Color casts suggest incorrect white balance; experiment with presets or custom settings. Over or underexposed images require adjusting exposure compensation or utilizing different metering modes. Check lens cleanliness‚ as smudges can degrade image sharpness. Ensure proper image settings are selected (RAW vs. JPEG) for maximum editing flexibility.
Consult the manual for detailed explanations of each setting and its impact on image quality.
Connectivity Issues (USB‚ Video Out)
USB connectivity problems with your Nikon D200 often involve cable issues; try a different USB cable and port. Ensure Nikon software is correctly installed on your computer for proper communication. Verify camera settings allow USB transfer. Video out difficulties may relate to incompatible cables or television settings.
Confirm the correct video output mode is selected on the camera (NTSC/PAL). Check the video cable connection at both ends. Restart both the camera and the display device. Refer to the manual for specific cable requirements and troubleshooting steps.
Driver conflicts can also cause issues; update or reinstall drivers if necessary.
Maintenance and Care
Regular cleaning of the sensor‚ lens‚ and body ensures optimal performance. Proper storage and careful transportation protect your Nikon D200 from damage and wear.
Cleaning the Sensor
Maintaining a clean sensor is crucial for high-quality images with your Nikon D200. Dust particles can appear as spots in your photos‚ especially at smaller apertures. Regularly check for dust using the camera’s sensor cleaning function‚ found within the setup menu.
If the automatic cleaning doesn’t suffice‚ manual cleaning is necessary. Use a blower to gently remove loose dust. For stubborn particles‚ employ a sensor cleaning kit specifically designed for the D200‚ including sensor swabs and cleaning fluid.
Always follow the kit’s instructions carefully to avoid damaging the sensor. Exercise extreme caution and work in a clean‚ dust-free environment. Improper cleaning can lead to permanent sensor damage‚ so consider professional cleaning if you’re uncomfortable performing it yourself.
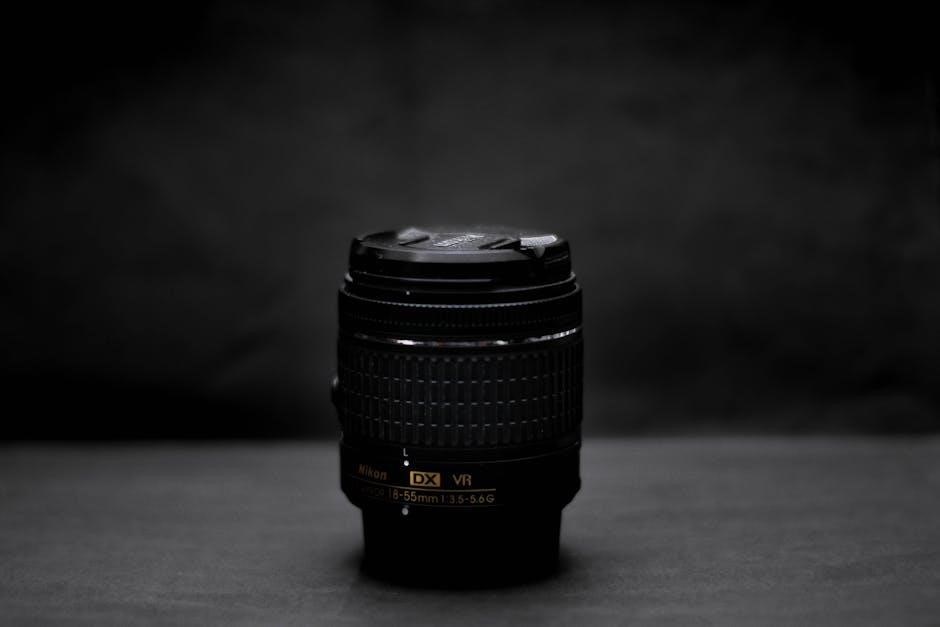
Caring for the Lens
Proper lens care significantly extends the lifespan and maintains the optical quality of your Nikon D200 lenses. Regularly clean the lens surface with a soft‚ lint-free microfiber cloth and lens cleaning solution. Avoid harsh chemicals or abrasive materials.
Protect the front element with a UV filter to guard against scratches and impacts. Store lenses in a cool‚ dry place‚ away from direct sunlight and extreme temperatures. When not in use‚ attach the lens cap to prevent dust accumulation and accidental damage.
Avoid touching the lens surface with your fingers. Periodically inspect the lens for any signs of fungus or haze‚ and seek professional cleaning if necessary.
Storage and Transportation
Proper storage and transportation are crucial for protecting your Nikon D200 from damage. When storing for extended periods‚ remove the battery to prevent potential corrosion. Keep the camera in a dry‚ dust-free environment‚ ideally within a camera bag or case.
During transportation‚ utilize a padded camera bag with sufficient cushioning to absorb shocks and vibrations. Avoid exposing the camera to extreme temperatures‚ humidity‚ or direct sunlight. Securely fasten all compartments and straps to prevent movement during travel.
Consider using a desiccant pack inside the bag to absorb moisture. Always handle the camera with care and avoid dropping it.
Resources and Further Information
Download the complete PDF manual for in-depth details. Visit Nikon’s support website for assistance and explore online forums to connect with fellow D200 users.
Downloading the Full Manual (PDF)
Accessing the complete Nikon D200 manual in PDF format offers a comprehensive resource for all your camera-related questions. This downloadable version provides detailed explanations of every feature‚ function‚ and setting‚ allowing for thorough understanding and exploration.
The PDF manual is easily searchable‚ enabling quick access to specific information when needed. It’s perfect for offline viewing and printing‚ ensuring you always have the guidance you require‚ regardless of internet connectivity. Several websites archive older manuals‚ offering free downloads.
Ensure the source is reputable to avoid potentially corrupted files. Having the full manual readily available empowers you to maximize your Nikon D200’s capabilities and troubleshoot any issues effectively.
Nikon Support Website
The official Nikon Support website serves as a central hub for resources related to your D200. While direct D200 support may be archived due to its age‚ the site often contains valuable information applicable to similar Nikon DSLR models.
Explore the website for frequently asked questions (FAQs)‚ troubleshooting guides‚ and software/firmware updates – though updates for the D200 are unlikely at this point. You may find helpful articles addressing common issues or providing tips for optimal performance.
Nikon’s support portal also offers contact information for customer service‚ should you require personalized assistance. Remember to have your camera’s serial number readily available when contacting support.
Online Forums and Communities
Numerous online forums and communities are dedicated to Nikon photography‚ offering a wealth of knowledge and support for D200 users. These platforms provide a space to ask questions‚ share experiences‚ and learn from fellow enthusiasts.
Popular forums often feature dedicated threads for older models like the D200‚ where you can find solutions to specific problems or discuss advanced techniques. Search existing discussions before posting to avoid repetition.
Engage with the community‚ contribute your own knowledge‚ and benefit from the collective expertise of Nikon photographers. These resources are invaluable for maximizing your D200’s potential.