A comprehensive guide for selecting and customizing denture teeth, ensuring natural aesthetics, functionality, and harmony with remaining teeth. Covers mould charts, shade selection, and material options for optimal results.
1.1 Importance of Denture Teeth Moulds in Prosthetics
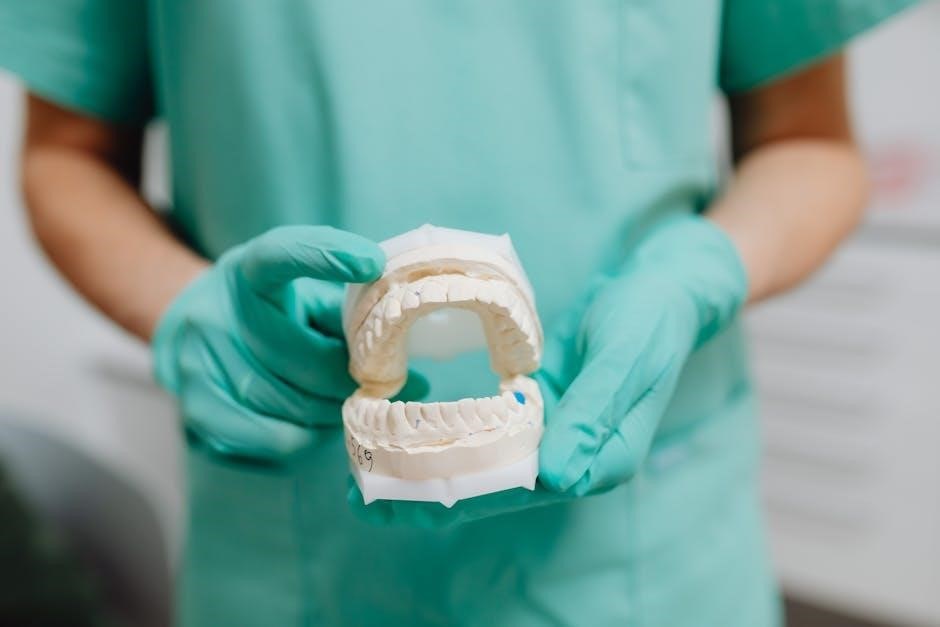
Denture teeth moulds are crucial for creating natural aesthetics and functionality in prosthetics. They ensure proper fit, chewing efficiency, and speech clarity. Moulds guide tooth selection, shade matching, and alignment, enhancing patient satisfaction. Customization options address individual needs, improving comfort and confidence. Their role in restoring oral function and appearance makes them indispensable in modern denture prosthetics.
1.2 Overview of the Denture Teeth Mould Guide
The Denture Teeth Mould Guide provides a detailed framework for selecting and customizing denture teeth. It includes mould charts, shade guides, and tools for ensuring proper fit and aesthetics. The guide helps dental professionals match tooth shapes, sizes, and colors to individual patient needs. It also covers material options like PMMA and composite resin, offering insights into durability and aesthetic preferences. This resource is essential for achieving natural-looking and functional denture solutions tailored to patient requirements.
Types of Dentures and Their Mould Requirements
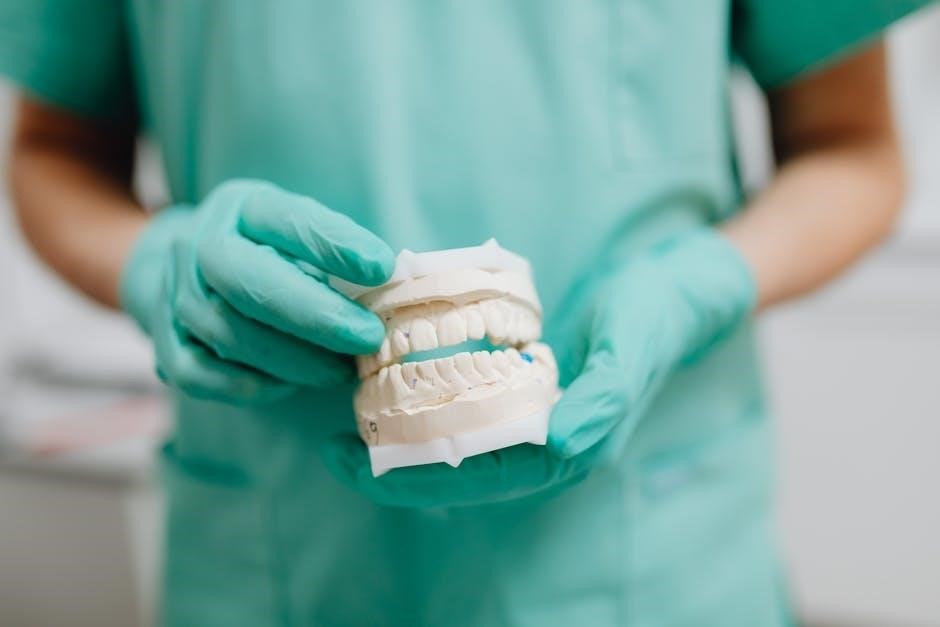
Dentures are categorized into complete and partial, each requiring specific moulds. Complete dentures focus on aesthetics and functionality, while partial dentures emphasize compatibility with natural teeth and existing structures.
2.1 Complete Dentures: Mould Selection and Aesthetics
Complete dentures require precise mould selection to ensure a natural appearance and proper fit. Aesthetics play a crucial role, with options like PMMA teeth offering durability and lifelike characteristics. Shade guides, such as VITA, help match tooth color to surrounding dentition for a seamless look. High-end options, including Pearl effects, enhance aesthetics for a more natural smile. Mould charts and shade selection tools aid in achieving harmony and patient satisfaction, ensuring functional and visually appealing complete dentures.
2.2 Partial Dentures: Mould Compatibility with Natural Teeth
Partial dentures require moulds that seamlessly integrate with natural teeth, ensuring both functional and aesthetic harmony. Mould selection focuses on matching the shape, size, and shade of existing teeth for a natural appearance. Tools like mould charts and shade guides aid in achieving this compatibility. Composite resin teeth are often used for their durability and lifelike aesthetics. Proper alignment and occlusal balance ensure comfort and longevity, making partial dentures a reliable solution for restoring missing teeth while preserving natural tooth structure.
Mould Chart and Shade Guide for Denture Teeth
A mould chart and shade guide are essential tools for selecting denture teeth, ensuring natural aesthetics and functionality. They help match tooth form and shade precisely.
3.1 Understanding the Tooth Mould Chart
The tooth mould chart is a detailed guide that categorizes artificial teeth by shape, size, and form. It helps dental professionals select the most suitable moulds for patients, ensuring a natural appearance and proper occlusion. Mould charts often include options for anterior and posterior teeth, with variations in aesthetics and functionality. This tool is crucial for achieving a balanced and harmonious denture design, tailored to individual patient needs and preferences.
3.2 Shade Selection Using Chromascop and VITA Guides
Shade selection is critical for achieving natural aesthetics in dentures. The Chromascop guide offers precise shade matching, while the VITA guide provides standardized shade options. Together, these tools help dental professionals choose the most flattering shades for patients. The VITA classical A1-D4 system is widely used, ensuring consistency and realism. These guides complement mould selection, enabling a harmonious blend of form, function, and aesthetics for optimal patient satisfaction and natural-looking dentures.
Materials Used for Denture Teeth
Denture teeth are crafted from materials like PMMA, known for proven quality, and composite resin, offering enhanced aesthetic, functional benefits, and durability for natural-looking dentures.
4.1 PMMA (Polymethyl Methacrylate) Teeth
PMMA teeth are widely used for dentures due to their high biocompatibility and cost-effectiveness. They offer a natural appearance and are easy to customize for individual patient needs. PMMA teeth are lightweight and can be color-matched to surrounding tissues, ensuring a seamless blend. Additionally, they are durable and resistant to wear, making them a popular choice for both complete and partial dentures.
4.2 Composite Resin Teeth: Aesthetic and Functional Benefits
Composite resin teeth are favored for their exceptional aesthetic and functional qualities. They offer a natural, lifelike appearance and are highly durable, resisting chipping and wear better than PMMA. These teeth are ideal for patients seeking a balance between affordability and premium aesthetics. Their versatility allows for customization in shape, size, and shade, ensuring a personalized fit. Additionally, composite resin teeth support optimal chewing efficiency and longevity, making them a top choice for modern denture solutions.
Customization Options for Denture Teeth
Denture teeth offer extensive customization, including aesthetic options like pearl effects and high-end finishes. Tools like the FormSelector enable precise anatomical tooth selection for natural-looking results tailored to patients.
5.1 Anatomical Tooth Selection Based on ATS Philosophy
The ATS (Anatomical Tooth Selection) philosophy guides the choice of denture teeth to ensure natural aesthetics and functional harmony. This approach considers tooth morphology, occlusal patterns, and patient-specific factors. The mould chart aids in selecting teeth that match the patient’s facial contours and bite. By aligning with these principles, dentures achieve a balanced and lifelike appearance, enhancing both comfort and aesthetics for optimal patient satisfaction.
5.2 Pearl Effect and High-End Aesthetic Options
Premium denture teeth feature a Pearl Effect, offering exceptional translucency and luster for a natural, vibrant smile. These high-end options are crafted with advanced materials like composite resin, ensuring durability and aesthetics. Ideal for complete dentures, they mimic the play of light on natural enamel, providing a sophisticated and realistic appearance. Shade guides like Chromascop and VITA classical A1-D4 help in precise color matching, enhancing the overall aesthetic outcome for discerning patients seeking premium prosthetics.
Harmony with Natural Teeth and Occlusal Patterns
Dentures are designed to blend seamlessly with natural teeth, ensuring functional and aesthetic harmony. Advanced moulds like SR Vivodent and EuroLine IPN 40 posteriors support occlusal balance and natural appearance.
6.1 Achieving Natural Harmony in Partial Dentures
Partial dentures require precise mould selection to harmonize with existing teeth. Moulds like SR Phonares II and EuroLine IPN 40 ensure natural aesthetics and functionality. Advanced materials and shade guides help match surrounding dentition for a seamless blend, maintaining patient comfort and occlusal balance. Customization options, including pearl effects, enhance the natural appearance, making partial dentures indistinguishable from real teeth in both form and function.
6.2 Multifunctional Occlusal Surface Design
Multifunctional occlusal surfaces in denture teeth moulds ensure universal adaptability and reliability across various occlusal patterns. These designs offer balanced occlusion and lateral guidance, enhancing chewing efficiency. Posterior teeth moulds, such as EuroLine IPN 40, feature multifunctional surfaces that accommodate both centric and eccentric movements. This versatility ensures optimal functionality and patient comfort, making them suitable for both complete and partial dentures while maintaining natural harmony and durability.
Posterior and Anterior Teeth Moulds
Posterior and anterior teeth moulds are designed to replicate natural dentition, ensuring functional and aesthetic harmony. EuroLine IPN 40 posteriors offer durability, while SR Phonares II anteriors provide lifelike aesthetics for a natural smile.
7.1 EuroLine IPN 40 Posteriors: Features and Benefits
The EuroLine IPN 40 posteriors are renowned for their durability and natural aesthetics, making them ideal for complete and partial dentures. These teeth are designed to harmonize with natural dentition, offering a multifunctional occlusal surface for efficient chewing. Their German-engineered design ensures versatility, catering to various occlusal patterns while maintaining a lifelike appearance. The IPN 40 posteriors are a preferred choice for their compatibility with natural teeth, providing both functionality and aesthetic appeal in denture prosthetics.
7.2 SR Phonares II Anterior Teeth: FormSelector Tool
The SR Phonares II anterior teeth, combined with the FormSelector Tool, enable precise and efficient mould selection. This tool streamlines the process of choosing the ideal anterior tooth mould, ensuring a natural and harmonious smile. Designed for chairside use, it allows dentists to quickly identify the perfect mould based on patient-specific needs. The SR Phonares II teeth are known for their high-end aesthetics and durability, making them a top choice for achieving lifelike results in denture prosthetics, while the FormSelector enhances clinical efficiency and patient satisfaction.
Brand-Specific Mould Guides
Brand-specific mould guides, such as SR Vivodent and Classic Ultra Value, offer proven quality and aesthetic options. They assist professionals in selecting moulds that ensure natural aesthetics and functionality, providing a wide range of tooth forms and shades for optimal patient satisfaction;
8.1 SR Vivodent: Proven Quality and Aesthetic Options
SR Vivodent offers high-quality denture teeth with exceptional aesthetic and functional properties. Made from durable PMMA, these teeth provide natural-looking results and long-lasting performance. The range includes options like Pearl Effect, ideal for complete dentures, ensuring a lifelike appearance. Shade selection is simplified with the VITA guide, matching natural tooth colors accurately. SR Vivodent is a preferred choice among dental professionals for its reliability and compatibility with partial dentures, ensuring harmony with remaining teeth and patient satisfaction.
8.2 Classic Ultra Value Denture Teeth: Natural-Like Aesthetics
Classic Ultra Value Denture Teeth are designed to deliver natural-like aesthetics with a wide range of moulds and popular shades. Their enamel and incisal details mimic natural teeth, offering a realistic appearance. Made from quality materials, they provide durability and comfort. Ideal for partial and complete dentures, these teeth are a cost-effective solution for patients seeking a balance between affordability and aesthetic appeal, ensuring satisfaction and confidence in their smile.
Chairside Tools for Mould Selection
Chairside tools like the SR Phonares II FormSelector enable fast, targeted selection of anterior tooth moulds, ensuring precise fit and aesthetics during dental procedures.
9.1 FormSelector for Targeted Anterior Tooth Moulds
The SR Phonares II FormSelector is a chairside tool designed for precise anterior tooth mould selection. It offers a variety of moulds, each tailored to meet specific patient needs. This tool streamlines the selection process, ensuring a natural appearance and optimal functionality. By providing a range of options, it helps dental professionals achieve the desired aesthetic and functional outcomes efficiently. The FormSelector is a valuable resource for enhancing patient satisfaction.
Patient Considerations and Aftercare
Patient reluctance to modify dentures, especially for anterior teeth, highlights the need for careful consideration. Ensuring comfort and longevity involves proper aftercare and maintenance routines tailored to individual needs.
10.1 Patient Reluctance to Modify Dentures
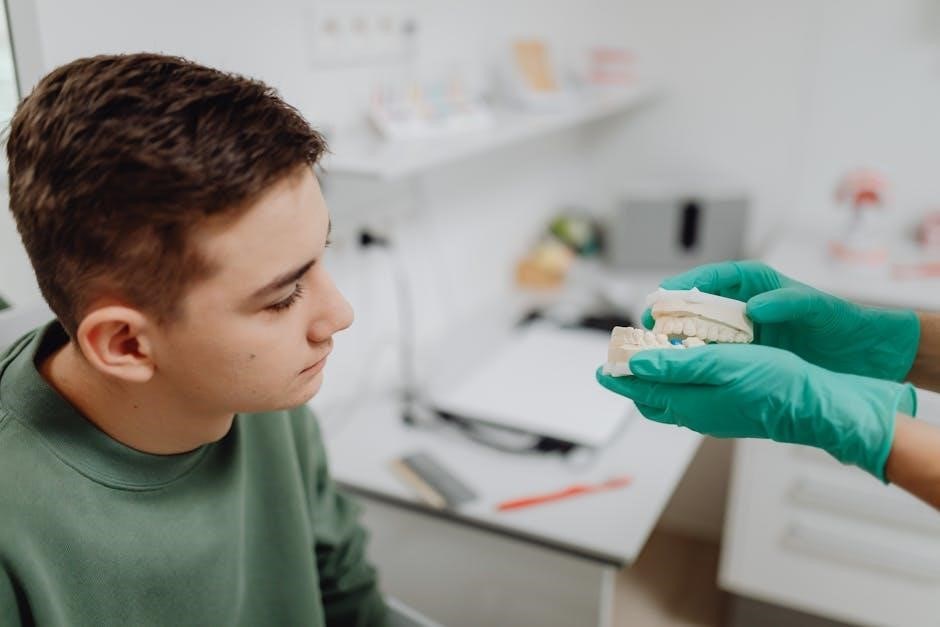
Patients often hesitate to modify their dentures, particularly if they replace anterior teeth, due to emotional attachment or concerns about appearance. This reluctance underscores the importance of clear communication and empathy in dental care. Understanding patient preferences and providing reassurance can facilitate necessary adjustments, ensuring both functional and aesthetic satisfaction. Addressing these concerns early in the treatment process helps build trust and improves outcomes; Proper aftercare education also plays a crucial role in maintaining denture longevity and patient satisfaction. Open dialogue and personalized solutions are key to overcoming resistance and achieving optimal results, ultimately enhancing the patient’s quality of life. Regular follow-ups and maintenance can further alleviate worries and ensure the dentures remain comfortable and functional over time.
10.2 Ensuring Comfort and Longevity of Denture Teeth
Proper fit and high-quality materials are crucial for comfort and longevity. Regular cleaning, avoiding abrasive products, and storing dentures correctly prevent wear. Professional check-ups ensure optimal performance and address minor issues before they escalate. Educating patients on care routines enhances satisfaction and extends denture lifespan, promoting both functionality and aesthetics for years to come. Attention to these details ensures dentures remain comfortable and durable, meeting patient needs effectively.
Case Studies and Real-World Applications
Real-world applications highlight improved patient satisfaction through customized denture teeth mould solutions, showcasing successful outcomes with products like SR Vivodent and Classic Ultra Value, ensuring natural aesthetics and durability.
11.1 Successful Outcomes with Custom Moulds
Custom moulds have significantly improved denture aesthetics and functionality for patients. Cases highlight how SR Vivodent and Classic Ultra Value teeth, with their natural aesthetics, boosted patient satisfaction. Advanced materials like PMMA and composite resin ensured durability and comfort. The use of shade guides like Chromascop and VITA facilitated precise color matching, while anatomical tooth selection based on ATS philosophy enhanced harmony with natural teeth. These solutions demonstrate the importance of customization in achieving optimal dental outcomes.
Future Trends in Denture Teeth Moulds
Advancements in material science and digital technology are expected to enhance aesthetics and customization, offering more natural-looking and durable denture teeth moulds for improved patient satisfaction.
12.1 Advances in Material Science and Aesthetics
Future trends emphasize innovative materials like advanced composites and high-end ceramics, offering superior durability and lifelike aesthetics. Digital dentistry integrates CAD/CAM for precise moulds, while biocompatible materials enhance comfort. Researchers focus on creating teeth with natural translucency and texture, ensuring seamless integration with natural dentition. These advancements promise higher patient satisfaction and longer-lasting denture solutions.
The denture teeth mould guide offers a comprehensive approach to achieving natural aesthetics and functionality. It ensures durability, comfort, and patient satisfaction, making it an essential tool in modern dentistry.
13.1 Summary of Key Points
The denture teeth mould guide provides a detailed roadmap for selecting and customizing denture teeth, ensuring natural aesthetics and functionality. It covers essential aspects such as mould charts, shade selection, and material options, while addressing patient needs and preferences. The guide emphasizes harmony with natural teeth, durability, and comfort. By offering insights into advanced materials and customization tools, it serves as a valuable resource for both professionals and patients, enhancing overall satisfaction and outcomes in denture prosthetics.
13.2 Final Thoughts on Denture Teeth Mould Guide
The denture teeth mould guide is a comprehensive tool designed to enhance denture outcomes by balancing aesthetics and functionality. It emphasizes the importance of patient-specific considerations, such as comfort, durability, and natural appearance. By leveraging advanced materials and customization options, the guide helps create dentures that meet individual needs. As dental technology evolves, the mould guide remains a cornerstone for achieving lifelike, long-lasting denture solutions.